I published this blog a couple of weeks ago. I created it using WordPress. WordPress is perhaps one of the most used technologies for creating websites, which is why I wanted to try it myself. In practice, the idea for my blog started from an interest in WordPress.
With WordPress, you should be able to quickly create simple (and probably also more versatile) pages without a major programming background. As a skill, this sounds good – it would be great to be able to create static pages for customers quickly, even though I already know how to do them by coding. But if you could make simple pages faster than by coding yourself, it’s a good deal for both me and the potential customer.
I started “learning” WordPress by watching YouTube videos on how WordPress works. I must have watched a whopping two videos, so my learning was really minimal. The videos made it seem like WordPress is really easy to use. After setting up the environment, a theme is selected and the theme can then be modified as desired. You have to create your own “Page” for each page. Then we create a style for the blog post page and link the post links to different pages. After that, you can just create new “Post” publications and the blog will work automatically. Handy, isn’t it?
This is how it works in theory. My practical experience was quite different. When reading this article, you should be aware that I am openly sharing my first experience. It could be that I did things completely wrong, but that’s how it is when trying new things.
Let’s go through the whole process step by step. All the steps in making a blog are summarized here:
- Organizing the domain and hosting
- Choosing the theme and plugins
- Creating the main pages
- Preparing the post page
Organizing the domain and hosting
This step is relatively basic stuff if you have set up any web pages. First you need to buy a domain for your website. This practically means the name of the page, e.g. Google.com. On my blog this is nerd-tales.net.
Then you have to choose the place where you will host your page. This means that you choose a service whose job is to run your site on their physical servers. There are a lot of options online. There are several Finnish-language websites (note: I live in Finland), but I personally felt that their prices were higher compared to foreign alternatives. Of course, there are many things other than price that can influence your choice, but I mainly went by price.
Speaking of WordPress, many service providers also offer hosting packages specifically for WordPress. By choosing such a package, you can be sure that your page will run optimally. I think this is a really nice thing for WordPress novices, as it reduces the amount of tweaking at the beginning. It also speaks of the popularity of WordPress – no other technology has such a wide range of similar packages available. Such packages often already include the functionality of the service provider, which installs WordPress on the site. Easy peasy, now to work on the pages!
Choosing the theme and plugins
In WordPress, the theme determines the majority of the functionality and appearance of your site. It defines color palettes, which editors you can use to create pages, and more. WordPress users have created a huge number of different themes from which you can choose the one that suits you.
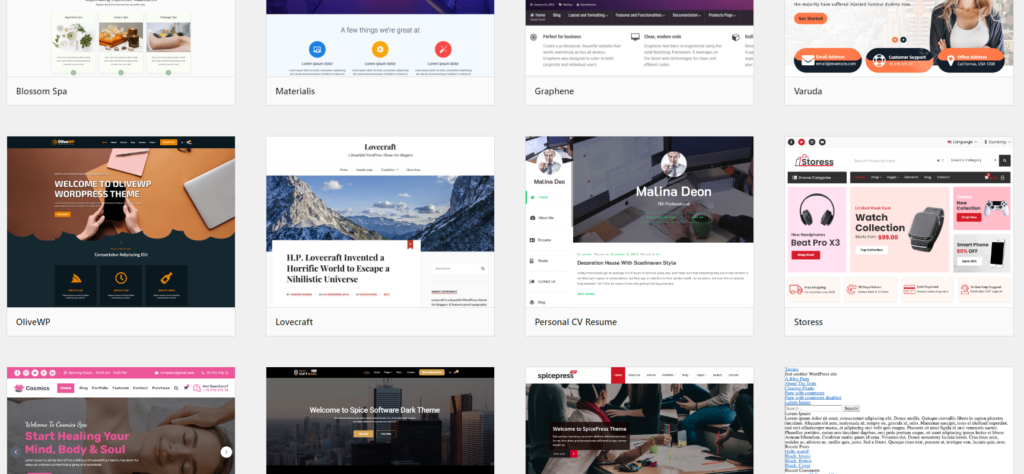
That’s true in theory. Then we get to the first negative experience I encountered with WordPress. Most of the themes have some features which require payment, because they are published by people or companies. This is of course understandable, because people want something in return for their creations. I was just surprised that the “world’s most popular” platform for creating websites has been financed in this way. Even free themes always have some aspects locked. For example, the most popular theme Astra (which I myself chose for my website), offers basic things to use, but you have to pay a high price per year for the Pro version. And when you don’t want to pay too much for a website that was made as a hobby, then this kind of thing limits the creation of pages a lot. Not sure what I think about this.
Certain themes require different plugins to work. One of the most common is the Elementor page editor. You can install as many plugins on the page as your hosting platform can handle. Like themes, plugins are released by a huge number of people, and they have the same problem as themes: only some of the functionality is often free. In addition, it is really difficult for a beginner to choose plugins without instructions, because you don’t know which ones are really useful and good. For example, I completely followed the instructions in my tutorial video and used some plugins that make it easier to create a layout. I don’t even know exactly all the features of that plugin.
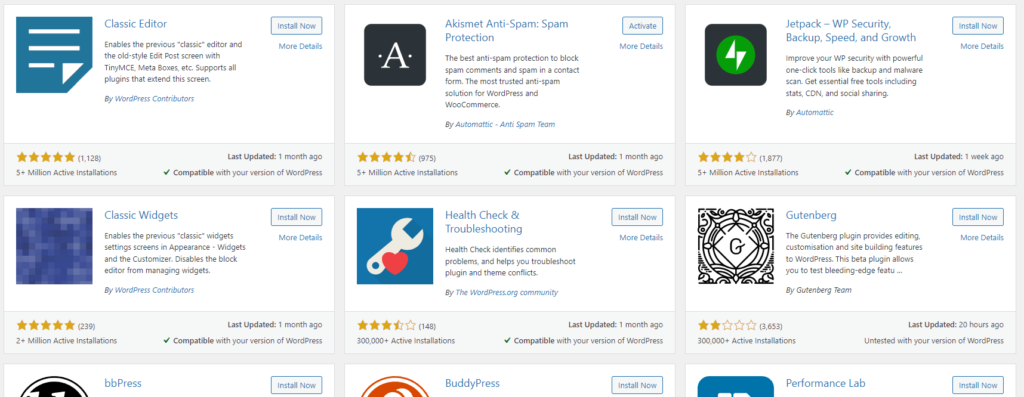
My opinion about this stage is that it is really difficult to choose the right themes and plugins from thousands of options at the beginning. In addition, some themes require certain plugins to make certain functionalities work. An example of this is the list of blog posts on my website. This functionality had to be enabled via a plugin, because otherwise it wouldn’t be available. The plugin made it available quite handily, but without the tutorial I could not have realized as a beginner that you can get it available via plugins.
Creating the main pages
Then it was time to actually do something. Each main page must have its own base. By the main page, I mean the different pages of my blog, such as the home page, the video games page, the board games page, etc. The theme I chose actually uses the Elementor page editing tool I already mentioned. This is practically a drag-and-drop style tool that can be used to create layouts on the page. Easy? Well, not in a million years!
Using the tool is really difficult for a beginner. You know exactly what you want to do, but you don’t know how to get it done with a tool. As a programmer, I missed the basic HTML-CSS combo. I would know how many things can be done with them, but with Elementor I can’t even get basic work done easily. Okay, this is definitely the kind of thing that gets easier over time if you make more pages. But my first reaction to editing the pages was really painful.
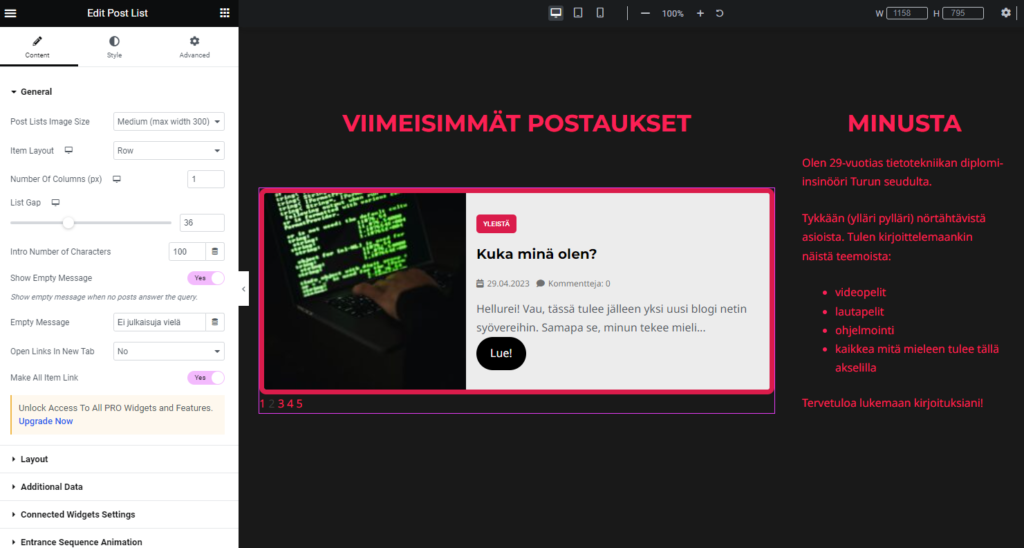
This is how editing a page looks. Looks simple, but in theory you can’t find anything easily.
In practice, an element (these are also called widgets), such as Header or Column, is dragged into the section on the page. Then, by clicking on the element, you will see three sections in the side panel: Content, Style and Advanced. Below these you can find various things that modify the element, such as for example the text of the title for the Title element, the size of the font and the size of the padding area. I personally felt that if you want to modify a feature, it is really difficult to find it. It is not certain under which section it is. But, like I said, this pain will definitely ease the more you mess with WordPress.
One of the most annoying issues I had was that not everything I could edit was done inside the Elementor editor. Sometimes I had to jump to WordPress’s own panel to manage some things (e.g. the top link menu was managed entirely this way) and to the basic editing view of the pages, i.e. not in Elementor’s editing view. Pages can also be created without Elementor, in which case each page has several editing views. For example, when you create a new page in addition to the original automatically generated ones, the top menu is not transparent but has a white background. This must be understood to be edited for reason X from the side panel of WordPress’s own page editor – not Elementor. It was difficult to explain this matter in text form, but the main point was that it is difficult to find a place where a certain thing can be edited in a this web of editing possibilities for several pages.
After all this, I still managed to find something positive in creating pages! It is easy to copy elements between different pages, so each page easily looks the same. This speeds up work a lot. Responsiveness, i.e. the how the different pages look on different-sized screens, is also cleverly handled in WordPress. If a feature of the widget can be defined for different screen sizes, there is an icon next to it. In Elementor, you can choose which screen size is being modified, and then you can assign different values to different properties. Coming from a CSS background, this was really handy not having to adjust with media queries.
Preparing the post page
When the main pages are ready, it’s time to work on the page containing the individual post. Posts can be created very conveniently through the WordPress dashboard. When the post is ready, you can get it published on the right page with one button, after you have prepared the main pages correctly. I myself implemented the post feeds that appear on the different main pages simply with the help of categories. Categorization is directly supported by WordPress, and working with these was really simple for me.
However, don’t judge a book by its cover. Although it is easy to create posts, defining the style of the post page itself was not so simple. I already complained that part of the page construction takes place in the WordPress editor, and part in the Elementor editor. With the post page, this problem really shined. I couldn’t quite figure out which part was actually the responsibility of which editing tool. After fiddling with different options, I finally got a tolerable result.
However, the particular confusion was caused by the comment section. I still don’t know how to set the language settings in it, and even in this post (at least at the time of writing) it is always in English and not in Finnish. If anyone knows where I can find its settings, please let me know! I probably didn’t spend enough time on it, and soon I’ll find that setting somewhere.
SUMMARY
After the steps I presented earlier, the blog and its infrastructure are ready. After that, all you have to do is create a post and set the right category for it, and it will go to the right place on the pages. In this respect, creating and maintaining a blog is easy. Anyone can do this without any programming skills, as long as they have the patience to delve into the ins and outs of WordPress.
The steps I have presented are of course only the basic framework for such a page, and it can be further refined in many different ways. I made the blog according to a WordPress blog tutorial I found on YouTube. The advantage of this imitation tactic is that you can quickly get the blog up and running. The downside is that I did everything strongly according to it. It means that I don’t necessarily understand everything I did. But it’s good to continue and develop from this, when you’ve even got something working! On the other hand, the negative feelings I had about WordPress can also be completely due to the fact that I didn’t study things but did worked without fully understanding what was happening.
I had mixed feelings about WordPress itself. Building the pages was difficult for a beginner and I almost never knew where exactly to find an adjustment. It’s tricky when there are at least three different places where the controls can be located (WordPress panel, WordPress page editor, Elementor editor). In addition, it is difficult to know where all the different elements/widgets come from. For example, I myself downloaded a plugin since the tutorial instructed me to, and I couldn’t directly say where these values can be defined.
Only time and experience will tell if my opinions will change. Let’s see if there will be another part of this post where I update my opinion.
EDIT AFTER RELEASING THE POST: A good example of WordPress! After the release, that top menu was on a white background and not transparent! Argh!
After doing this post, I’ve gotten a bit better with WordPress. Still, it’s quite a hassle to work with it…